USER GUIDE
The easiest way to learn how to use the programme is to create the following sample scene step by step.
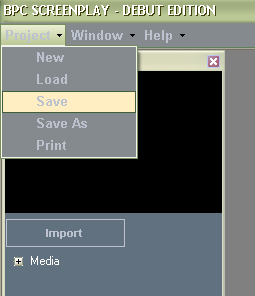
1. Click on the PROJECT button, select NEW and click once.

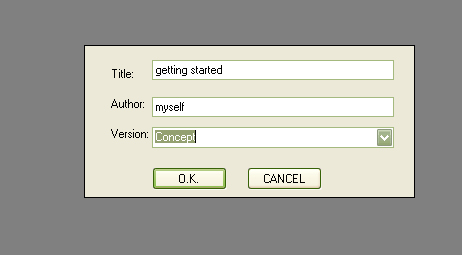
2. A new window opens. Enter the title of your project, the author and select concept, draft, or final as a version, then click O.K.
3. Three windows now open - script, timeline and media library. The project title, author and version have already been entered in the title page and you are ready to start work.
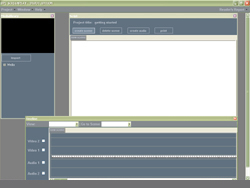
click on CREATE SCENE in the script window and a tab will be displayed 'new scene'. The script window is now ready for you to begin writing your new scene.
4. In the SCRIPT window:
4.1. On the first line type EXT: SOMEWHERE, then press return (enter), or INT: SOMEWHERE, then press return (enter)
4.2 On a new line type the sentence - This is text for description and action.
4.3 On a new line, press TAB once, then type the name of a character - CHARACTER and press return (enter)
4.4 The cursor is now in position to write some dialogue, so write some dialogue. When you have finished writing the first speech, press 'SHIFT' + 'RETURN'. (THIS IS VERY IMPORTANT AS THE PROGRAMME RECOGNISES 'SHIFT+RETURN' AS A SIGNAL THAT THE SPEECH IS ENDED).
4.5 On a new line repeat steps 4.2, 4.3 and 4.4 with different character names and speeches.
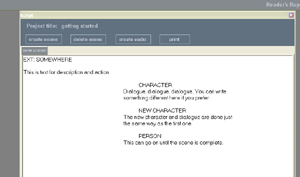
The text window should now look something like this:
5. click 'SAVE'
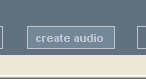
6. Click 'CREATE AUDIO' in the script window.
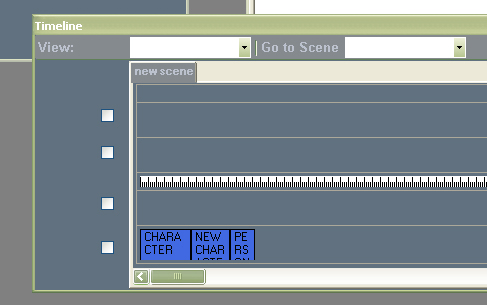
Wait a few seconds while the audio is created, then you will see icons for each of the speeches
have appeared on the timeline.
7. Click SAVE.
8. ADDING SOME PICTURES TO THE TIMELINE.
8.1 In the MEDIA LIBRARY window click IMPORT. A new window will open.
8.2 Now find the Screenplay folder on your computer, and open the IMAGE LIBRARY.
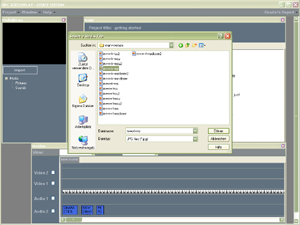
8.3 Open the 'QUICK IMAGES' folder and open one of the folders 'man', 'woman', then click on one of the image files to import it into your project.
8.4 A thumbnail of the image will appear in the MEDIA LIBRARY window and the file name will be listed.
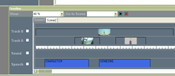
8.5 Use your mouse to drag and drop the image onto image TRACK B on the timeline.
8.6 Repeat a couple of times, but add the next images to TRACK A.
8.7 On TRACK B, extend the image, by clicking and holding the mouse down on the right hand margin of the image icon.
8.8 On TRACK A, move the images around using the mouse, by holding the mouse down on any part of the icon.
Images can be removed from the timeline by using the mouse and 'right clicking'.
The image on TRACK B serves as a default, or master image for the scene and the images on Track A as preferred selections, close ups, or 'cutaways'. (This is a simplified version of A/B roll editing).
8.9 SAVE.
8.9.1. The audio files on the SPEECH track can be spaced out to match the pace of your scene, however any changes to the speech, or the order in which characters speak should be done in the text window and the audio re-created and saved.
9.0 TO WATCH THE SCENE YOU HAVE JUST SAVED.
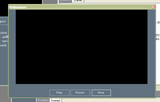
9.1 Select the black play arrow on the TIMELINE to open the MEDIA PLAYER.
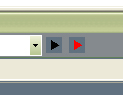
9.2 Select PLAY from the controls on the MEDIA PLAYER and watch your scene.
10. BEFORE CONTINUING TO WORK, CLOSE THE MEDIA PLAYER.
11. To watch your whole project, open your project at the first scene and select the RED arrow on the timeline, then select PLAY on the MEDIA PLAYER and watch your movie.
12. Open the 'DETAIL WINDOW' from the Window menu and enter details for
Character, Location and Scene as required and Save.
13. PRINTING - Select PRINT and follow the instructions.
14. TRY BUILDING A FEW SAMPLE SCENES AND SEE WHAT HAPPENS.....
SUMMARY.
SCRIPT WINDOW CONTROLS: Create scene - makes a new scene
Delete scene - deletes the scene you have open
Create Audio - converts dialogue to audio files and places them on the timeline.
Print - opens the print window with options.
Back and Forward - moves scenes.
TEXT CONTROLS Head of scene - INT: or EXT: with location name
text left - description of scene, action, etc
TAB - Character name
text following character name and return: dialogue
Shift + enter: finish dialogue
TIMELINE
Drag and drop images from media library.
Use the mouse to move sound and images on their tracks.
Delete an image by right clicking the mouse on the image.
MEDIA LIBRARY
Import images from the IMAGE LIBRARY
Import Music and Effects
MEDIA PLAYER
Use controls to view scenes
ALWAYS CLOSE THE MEDIA PLAYER BEFORE RETURNING TO WORK ON YOUR PROJECT.